Wrong pins, caught as you type
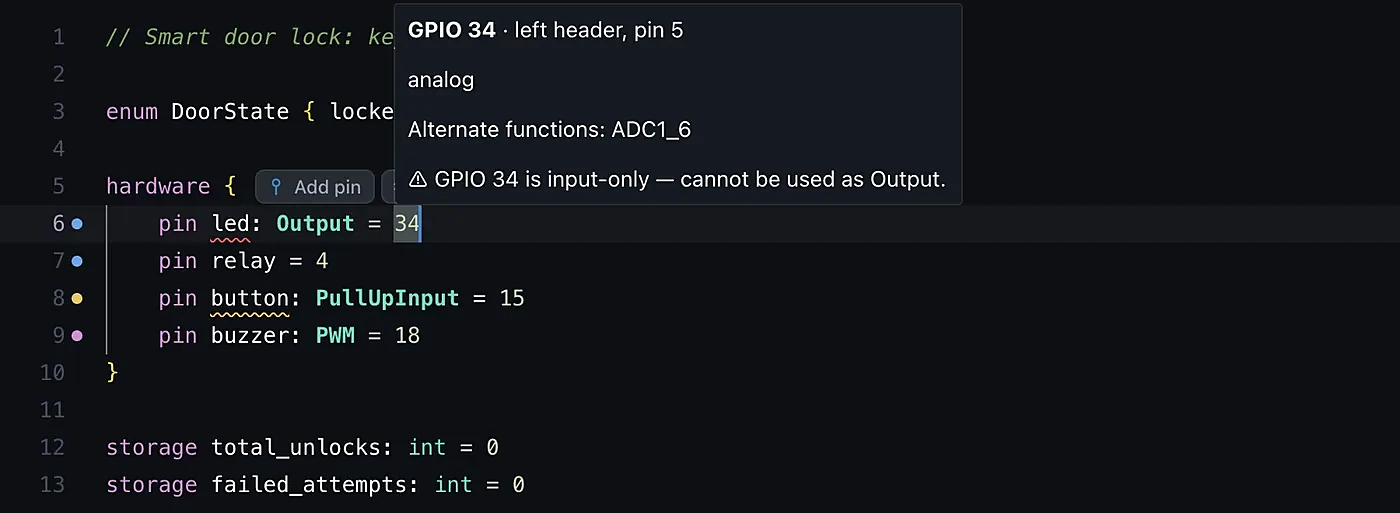
Hover a pin to see what it is on your board. Pins that can’t do the job are underlined before you build.
Early accessFor ESP32 boards
Volt is a typed language for microcontrollers, with an AI assistant built into the IDE. Describe what you want and it writes the program; Volt checks every pin against your chip's datasheet, so a wrong pin is caught there and then, not after an afternoon of debugging.
Free for macOS, Windows and Linux. Prefer a terminal? Install the command line.
Scroll, and volt check reads this program against the ESP32-DevKitC's datasheet, flags three
pins that would have failed on the board, then applies its own hints.
1hardware {2 pin led = 63 pin relay = 344 pin soil: Analog = 255}6setup {7 wifi.connect("home", "secret") or retry(5)8}9every 1s {10 relay.on()11 led.toggle()12 let v = soil.read()13}Scroll on, or run it yourself.
ErrorFixed main.volt:2
GPIO 6 is connected to the SPI flash chip. Using it will crash the ESP32.
Available output pins: 2, 4, 5, 12, 13, 14, 15, 16, 17, 18, 19, 21, 22, 23, 25, 26, 27, 32, 33
Moved from GPIO 6 to GPIO 2.
ErrorFixed main.volt:3
GPIO 34 is input-only — cannot be used as Output.
Input-only pins: 34-39.
Moved from GPIO 34 to GPIO 18.
WarningFixed main.volt:4
GPIO 25 is on ADC2, which is BLOCKED while WiFi is active. Analog reads will return errors or garbage.
Use ADC1 pins instead (GPIO 32-39) which work with WiFi.
Moved from GPIO 25 to GPIO 34.
1hardware {2 pin led = 23 pin motor: PWM = 44 pin battery: Analog = 355}67setup {8 wifi.connect("home", "secret") or retry(10)9 mqtt.connect("mqtt://broker.local") or retry(5)10}1112task blink {13 every 500ms { led.toggle() }14}1516task report {17 every 5s {18 mqtt.send_int("volt/battery", battery.read())19 }20}2122task drive {23 every 1ms strict { motor.set_pwm(512) }24}
Write each job as its own task and they all run at once. The compiler reads each body and picks the cheapest way to run it
safely, so a blink loop never pays for a FreeRTOS stack and a network call never stalls your motor control.
States, guards, timeouts and entry and exit actions are syntax, not a library. Doors reopen when the beam is broken, the emergency stop halts the car from any moving state, and the checker verifies every transition and flags states that can never be reached.
1// hardware, floor and call-button polling omitted2machine elevator {3 initial state idle {4 on target > floor -> going_up5 on target < floor -> going_down6 }78 state going_up {9 enter { motor_up.on() }10 exit { motor_up.off() }11 on estop.is_pressed() -> stopped12 on floor == target -> doors_open13 }1415 state going_down {16 enter { motor_down.on() }17 exit { motor_down.off() }18 on estop.is_pressed() -> stopped19 on floor == target -> doors_open20 }2122 state doors_open {23 enter { door_open.on() }24 exit { door_open.off() }25 after 5s -> doors_closing26 }2728 state doors_closing {29 enter { door_close.on() }30 exit { door_close.off() }31 on beam.is_pressed() -> doors_open32 after 3s -> idle33 }3435 state stopped {36 on reset.is_pressed() -> idle37 }38}Under the module's metal can, the SPI flash that stores your program is wired to GPIO 6–11. The DevKitC breaks them out as CLK, D0–D3 and CMD. They look like free pins. Wire anything to one and the ESP32 crashes the moment it tries to read its own code.
Volt checks every pin against the datasheet and stops you before you build:
-- HARDWARE ERROR -- main.volt:2

GPIO 6 is connected to the SPI flash chip.
Using it will crash the ESP32. Describe what you want and the assistant writes it. The checker runs on every edit, the wiring view shows what goes where, and the same window builds, flashes and opens the serial monitor.
Go on, put
 Volt Upload Monitor ESP32-DevKitC File Compile Settings Help
No problems. Every pin is safe to use on this board.
Hover a pin to see what it is on your board. Pins that can’t do the job are underlined before you build.
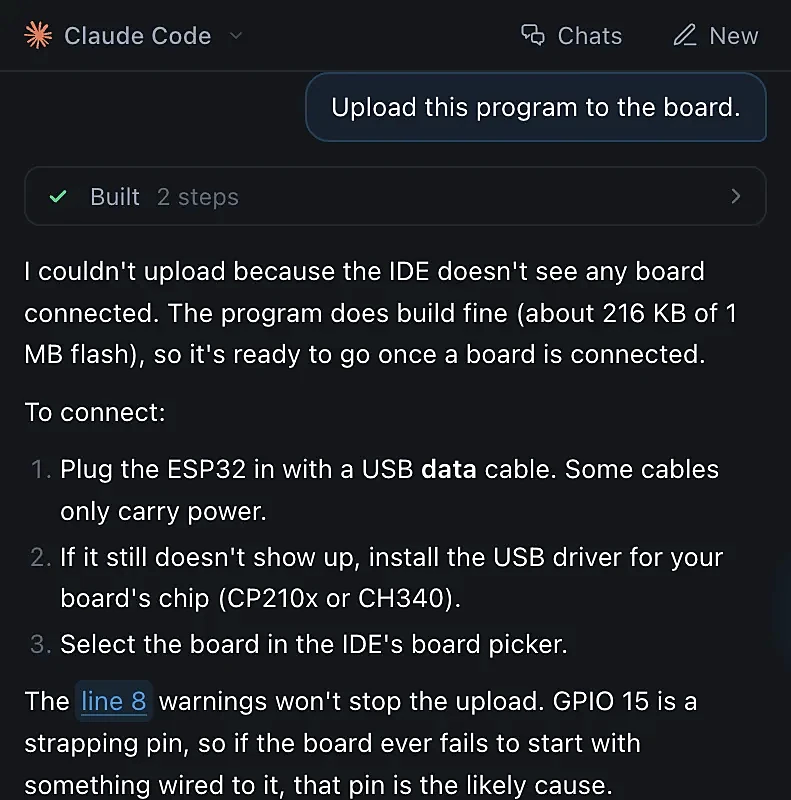
Claude Code or Codex, built in. It explains each step and waits for your go-ahead.
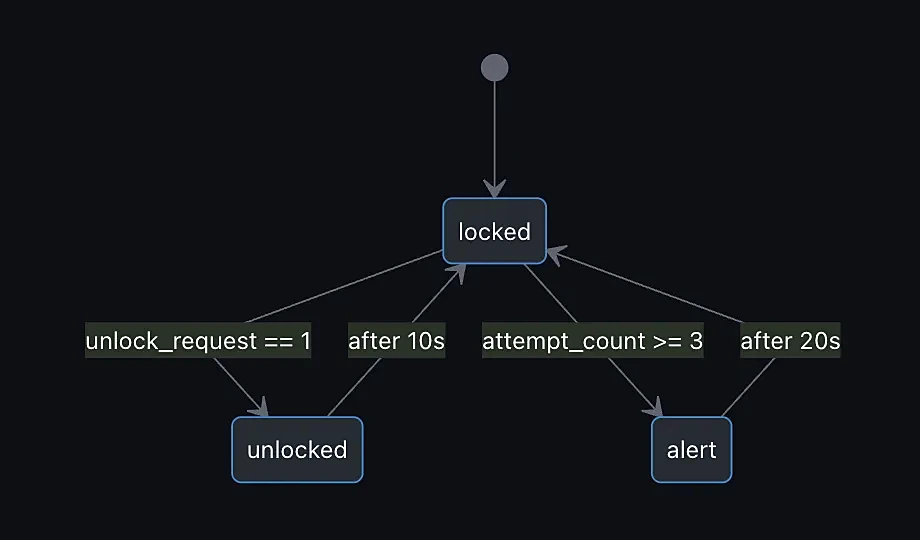
Every state machine is drawn as you write it.
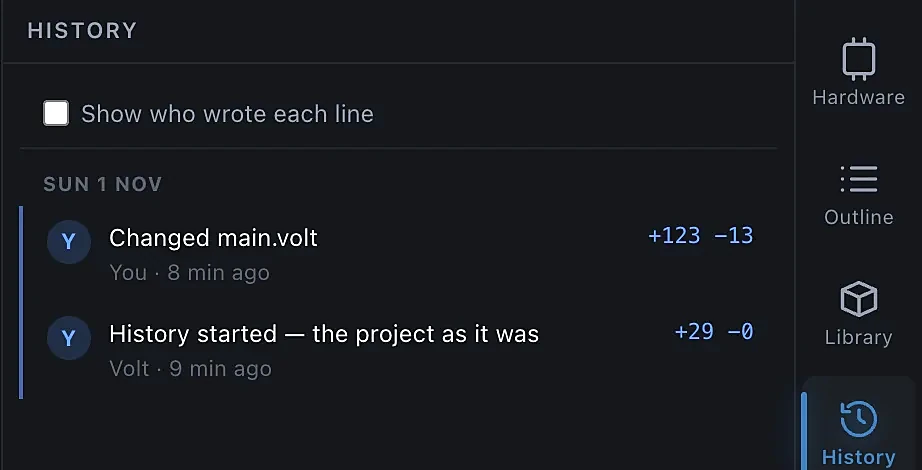
Every save and every assistant edit lands in History, ready to restore.
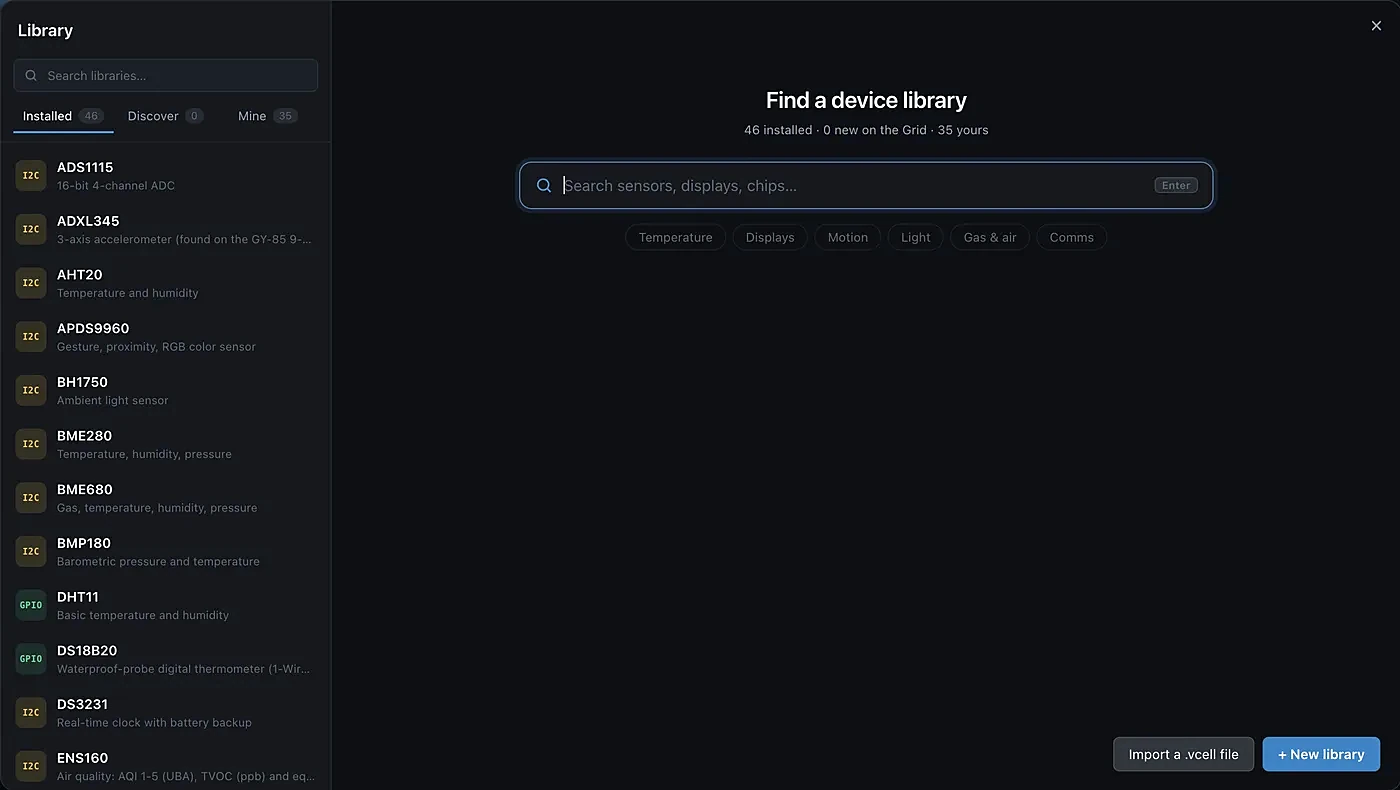
Sensors, displays and radios with typed methods, so a wrong call is an error, not a guess.
setup works the way you expect. Timed blocks like every 500ms replace
millis() bookkeeping, and they run side by side without you writing a scheduler.
Volt builds on ESP-IDF and FreeRTOS. You keep native performance and stop maintaining task handles, stack sizes and pin-mux tables by hand.
Yes. Volt is open source under the GPL and AGPL. If those terms don’t fit your product, a commercial licence is available.
ESP32 boards today, starting with the ESP32-DevKitC. RP2040 and STM32 are next.
No. Checking, building and flashing all run on your computer. Only the assistant needs a connection, through your own Claude Code or Codex sign-in.
It sends crash reports and anonymous usage statistics (IDE version, OS, chip, which features you use and whether builds succeed) under a random install ID. Never your code, files or project names. Both are on by default and can be turned off in Settings › Privacy. Details are on the privacy page. Privacy →
Ask in the Volt Discord, or use Help › Send Feedback in the IDE to reach the team directly. Join the Discord →
Yes. A device library is a small folder: a list of the device’s methods and a C driver. Wrap the driver you have and Volt checks every call to it.
No. The language, checker and IDE work without it. When you do use it, it asks before doing anything outside your program, and every change it makes can be undone from History.
Yes. Your code is yours. Firmware includes Volt’s runtime, so for a closed-source product, use the commercial licence.
Download Volt IDE, plug in an ESP32 and press Upload. The command line comes with it.
| System | File | Size |
|---|---|---|
| macOS 12 or later, Apple silicon | Disk image | 171 MB |
| macOS 12 or later, Intel | Disk image | 178 MB |
| Windows 10 or later, 64‑bit | Installer | 146 MB |
| Linux, 64‑bit | AppImage | 176 MB |
| Debian and Ubuntu, 64‑bit | Package (.deb) | 143 MB |
The Windows installer isn't code-signed yet, so Windows may show a SmartScreen warning the first time it runs: choose More info, then Run anyway.
For advanced users: to install only the volt command line on macOS or Linux, run:
curl -fsSL https://voltembedded.com/install.sh | sh